Laboratory lighting is part of the working environment and the safety strategy—not a generic office ceiling package. Researchers must read labels, observe surfaces, operate instruments, and move safely around benches, fume hoods, storage, and support rooms. At the same time, the placement and construction of lighting can affect airflow, cleaning, access, and emergency operations. Start with the laboratory program, hazard assessment, applicable codes, and the owner’s environmental-health-and-safety (EHS) standard; then use the steps below to turn those inputs into a submittal-ready lighting scope.
Map the visual tasks and hazards before choosing a fixture family
Walk the planned room with the laboratory user, EHS representative, architect, mechanical engineer, and electrical engineer. Mark the actual work surfaces: bench tops, microscope or instrument stations, balance areas, sample-reading points, sinks, pass-throughs, chemical storage, corridors, and exits. Include vertical tasks such as labels, gauges, cabinet faces, and shelving. A single average reading on the floor or a generic ceiling calculation cannot demonstrate useful light on these surfaces.
The calculation package should identify the selected luminaire configuration, mounting condition, workplanes, surface reflectances, obstructions, maintenance assumptions, and any light-loss factor. Keep a separate record of locations where glare, reflections, or shadows could interfere with an instrument display or a critical observation. If a manufacturer offers multiple output, optic, lens, or driver options, the calculation and schedule should name the selected combination rather than relying on a family-level brochure.
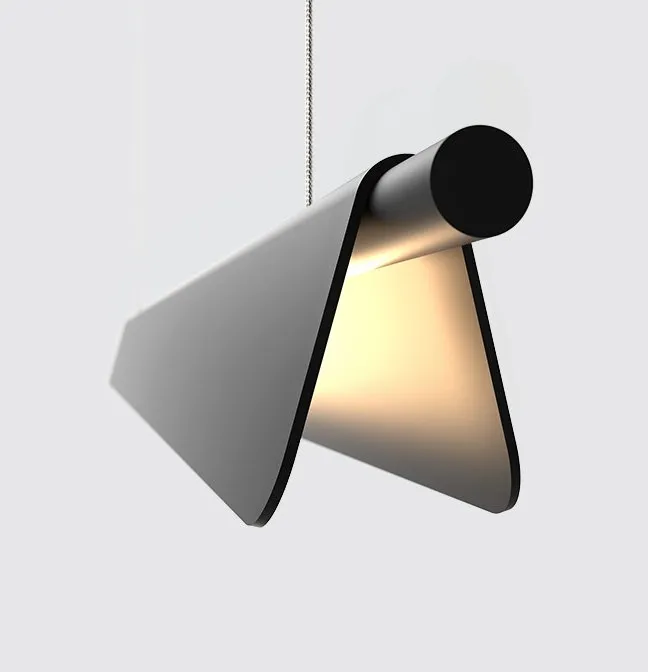
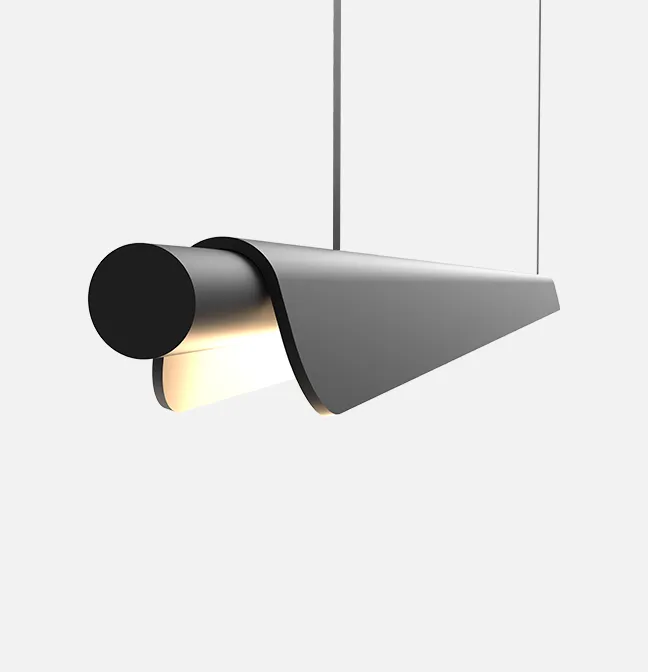
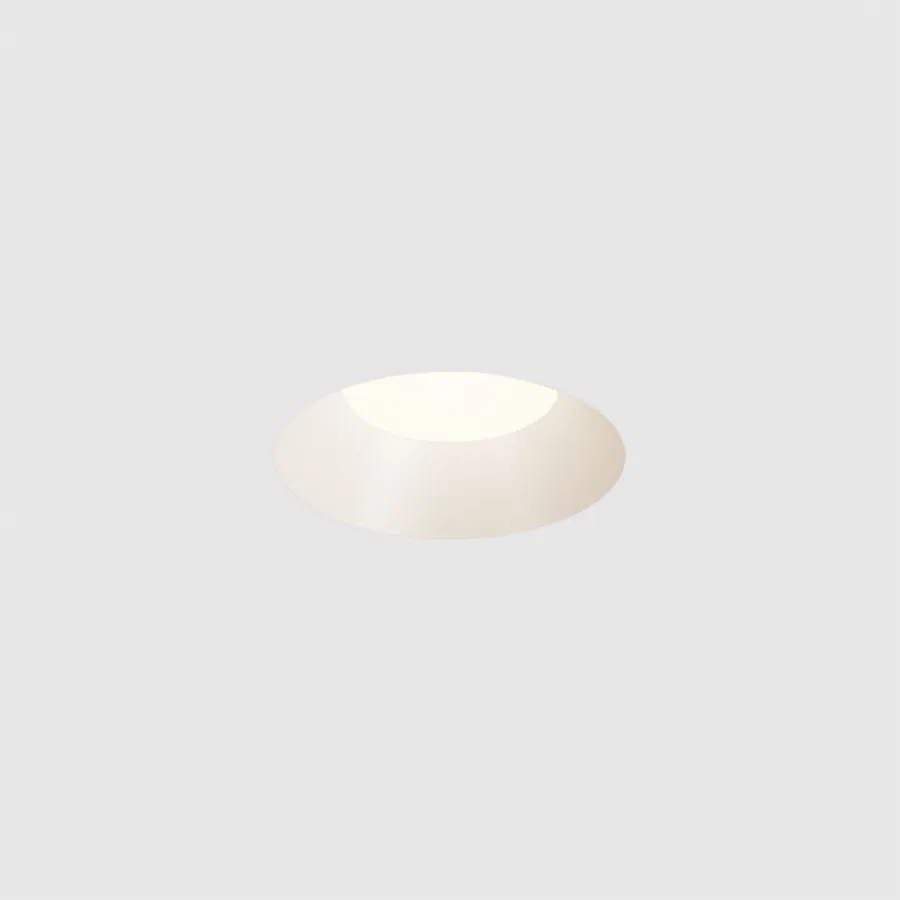
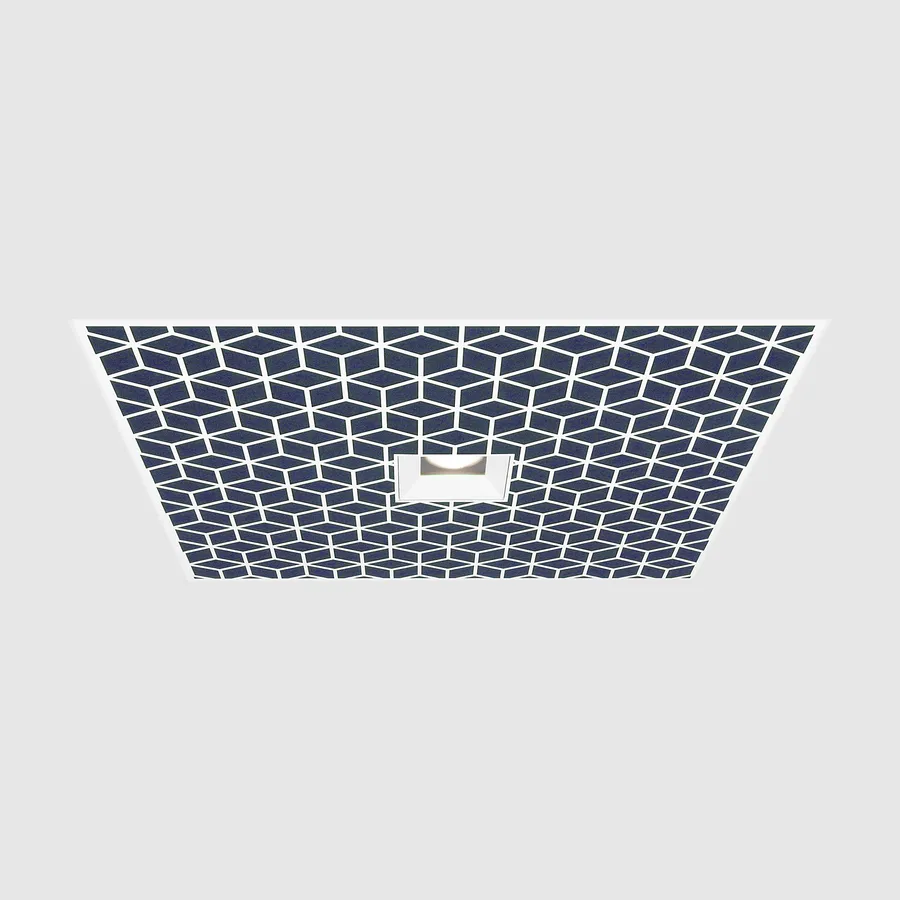
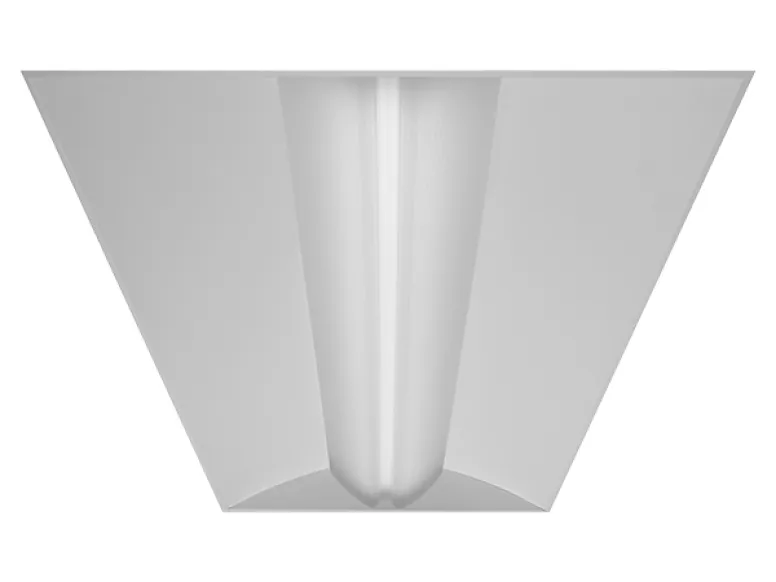
For general ambient layers, troffers and LED panel lights can suit compatible grid or surface ceilings. Linear lights can make a bench or circulation zone readable in the ceiling plan, while downlights can support entries and focused architectural areas. These are starting points for a design—not evidence that a listed fixture is suitable for a particular laboratory, chemical exposure, ceiling system, or cleanroom protocol.
Treat fume-hood surroundings as part of the ventilation system
Do not place luminaires, supply diffusers, doors, or routinely occupied workstations around a chemical fume hood without mechanical and EHS review. The Stanford laboratory design guidance explains that traffic, doors, operable windows, and supply-air turbulence can impair hood containment; it also advises against locating a hood next to a single means of exit or opposite long-duration workstations. Lighting layout belongs in that coordination because a late fixture shift or ceiling-device substitution can change the air pattern around a hood.
Coordinate the hood’s own light separately from room ambient light. Stanford’s guidance calls for hood lighting to be provided by a listed external fixture or, when located inside the hood, to meet the applicable electrical-code requirements; it also describes service from outside the hood and protection from vapor contact. Put the selected hood-light construction, access method, and maintenance responsibility in the hood submittal. Do not ask the room’s general-lighting layout to compensate for a hood light that has not been specified or commissioned.
The distinction between a chemical fume hood and a biological safety cabinet matters here. The University of Pennsylvania’s EHS guidance notes that the two devices serve different purposes and that a biosafety cabinet should not be used with chemicals unless specifically designed for that use. The lighting design should follow the actual equipment, work process, and approved safety controls—not visual similarity between enclosures.
Specify a maintainable ceiling and selected fixture construction
Laboratories vary dramatically: a dry analytical room, a wet chemistry room, an instrument suite, a teaching lab, and a classified cleanroom do not share one universal luminaire requirement. Describe the actual environment first: cleaning agents and method, splash or vapor exposure, humidity, room pressurization, ceiling construction, access restrictions, and the owner’s contamination-control protocol. Then verify the selected fixture’s lens, seams, gaskets, finish, listing, mounting detail, thermal limits, and cleaning instructions against that condition.
Avoid broad notes such as “laboratory-grade” or “cleanroom compatible” without a selected configuration and a source from the manufacturer. A fixture’s published ingress or location marking alone does not establish that it withstands the project’s cleaning process or preserves the ceiling system’s required performance. Likewise, do not bury driver access above a ceiling where the project’s pressure boundary, contamination rules, or operating schedule make routine service disruptive. Record the access route and replacement procedure before finalizing the reflected-ceiling plan.
In chemical laboratories, coordinate every material and enclosure decision with the hazardous materials program. The EPA Facilities Manual treats fume hoods as integral to the building HVAC system and calls for ventilation coordination, testing, adjusting, balancing, and approval before hood testing and building acceptance. That is a useful project discipline for lighting as well: ceiling devices and access panels should be resolved with the airflow and commissioning plan, not after occupancy.
Use controls that follow work states without creating a hazard
Separate the lighting design into real operating states: active bench work, instrument operation, cleaning, stock or support work, circulation, and after-hours occupancy. Use clearly labeled local control where the laboratory program needs it, while coordinating automatic controls with the applicable energy code, safety plan, security policy, and equipment operating procedures. A sensor or schedule should not leave a worker at an active task in darkness, surprise an occupant at a hazardous work area, or compromise a required emergency function.
Do not assume the same controls strategy works for every room. Confirm whether a particular instrument, microscopy station, process, or maintenance activity needs a stable local lighting condition. For daylit laboratories, commission perimeter response with installed glazing treatments, bench equipment, and task orientation in place. Record selected dimming settings, overrides, schedules, sensor coverage, and any interface with emergency or generator-backed circuits in the closeout package.
Keep emergency and exit lighting visible and testable
Emergency and exit lighting is its own life-safety system, even when it shares a ceiling with the general-lighting layout. The OSHA exit-route guidance requires exit routes to be adequately lighted, exit signs to be visible, and required safeguards such as exit lighting to remain in working order. It also states that each exit sign must be illuminated to at least 54 lux (five foot-candles) at its surface by a reliable light source.
Use the emergency and exit lighting schedule to identify the selected unit type, power source, test method, circuiting, mounting condition, and any generator, inverter, or battery interface. Coordinate the egress calculation and sign visibility with door swings, tall equipment, storage, partitions, and future bench layouts. The adopted building and fire codes, the AHJ, and the laboratory safety plan govern the final design; a product category page cannot substitute for that review.
Commission the room as an installed system
Before turnover, inspect the room at normal operating conditions with the final benches, instruments, equipment, partitions, and finishes in place. Verify that the selected lighting configuration matches the calculation and schedule; then review glare, reflections, shadows, local controls, emergency operation, service access, and required documentation with users and facilities staff. Where a fume hood is present, coordinate this review with the ventilation team’s completed testing and certification rather than treating lighting and hood performance as separate closeout events.
The National Academies’ Prudent Practices in the Laboratory emphasizes continuous performance monitoring and routine testing for chemical hoods. Add the lighting-control settings, emergency test records, selected configurations, and maintenance instructions to the same facilities handover process. That makes future relamping, driver replacement, ceiling access, and room changes more likely to preserve both visibility and laboratory safety.
Laboratory lighting submittal checklist
- A room-by-room task and egress calculation that names the selected output, optic, lens, mounting, workplanes, obstructions, reflectances, and maintenance assumptions.
- A reflected-ceiling coordination drawing locating luminaires, diffusers, returns, hoods, doors, safety equipment, access panels, and emergency devices.
- Manufacturer documentation for the selected fixture construction, cleaning method, environmental limitations, listing, and service access—not just the product family.
- A hood-lighting and airflow coordination record for each chemical fume hood, including the approved service method and final ceiling-device locations.
- A controls narrative identifying zones, local overrides, automatic functions, after-hours behavior, emergency interfaces, and the commissioning method.
- Emergency and exit-lighting cut sheets, circuiting or power-source information, test provisions, and final sign-visibility review.