Conference rooms have several visual tasks that can conflict: people need to read material at a table, see each other across it, review a display, present to a camera, and sometimes dim the room for projected content. Treating all of those as one “meeting-room” light level usually produces a brittle controls scheme or a bright, reflective screen wall. Start with the actual room layout and meeting modes, then verify the chosen fixture configuration with calculations, a mock-up where the room is high-profile, and a documented commissioning session after furniture and AV equipment are in place.
Start with the room, the camera views, and the operating states
Mark the finished table, chair positions, display or projection wall, writable surfaces, camera locations, speaker positions, ceiling microphones, windows, shades, entry doors, and the route to the wall controls on the coordination plan. Ask the owner how the room is actually used: a small scheduled huddle room, a training room, a boardroom with remote participants, and a divisible multipurpose room need different scenes and control authority even when their floor plans look similar.
Write the operating states before choosing a control keypad. A useful starting list is arrival, ordinary meeting, presentation, video call, cleaning, after-hours, and emergency operation. For each one, name what must remain lit, what can dim, who may change it, and how the room returns to its normal state. This lets the electrical, interior, and AV teams resolve controls together rather than leaving a generic “scene control” note for the field.
Keep the life-safety design separate from the presentation scene. A dimmed display mode does not replace required egress and emergency-lighting provisions. OSHA’s exit-route guidance says exit routes must be adequately lighted and unobstructed; the adopted building and fire codes, electrical design, and authority having jurisdiction establish the project requirements. Coordinate signs, emergency equipment, doors, furnishings, and dimmed scenes so the final room still supports safe exit.
Review table, display, and camera-facing light separately
Set calculation planes and review views that match the tasks, not only an empty-floor average. Include the table work surface, a standing presenter location, the display or projection wall, writable surfaces, circulation at the door, and vertical views from the remote-participant camera. Use the final ceiling height, furniture, surface reflectances, display size, glazing, shades, and likely seating positions. A plan that is even on the table can still make a display reflective or leave a presenter’s face poorly modeled on camera.
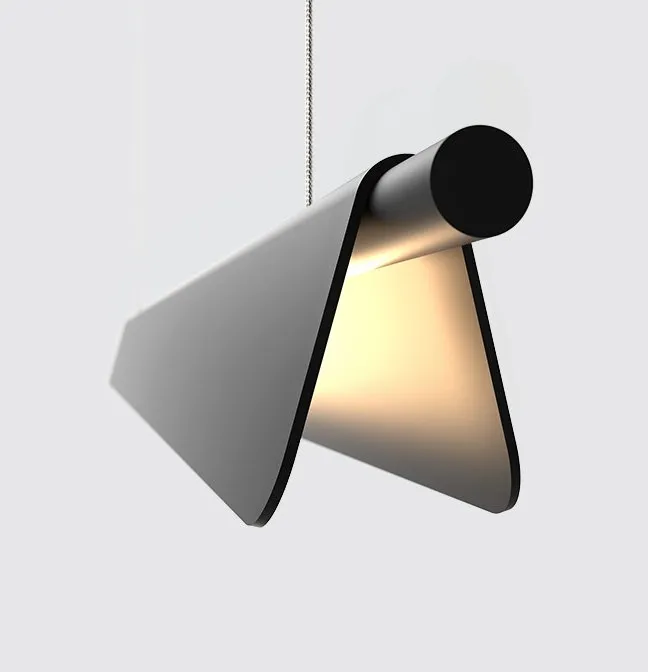
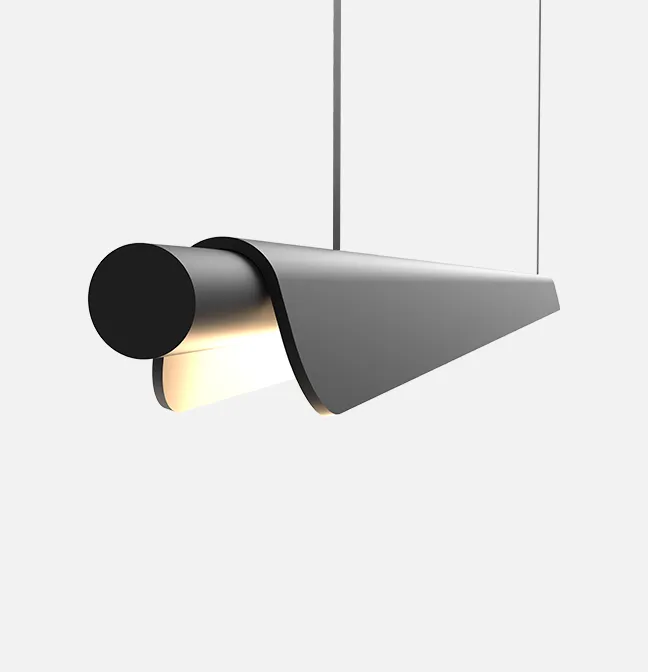
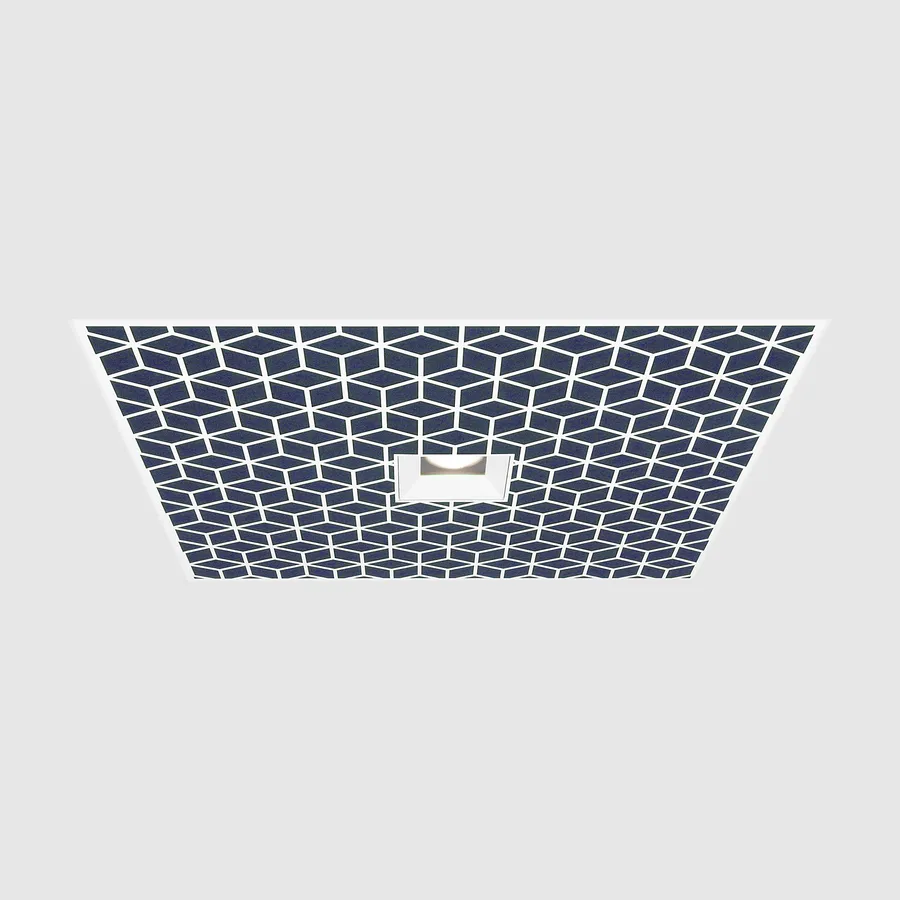
Check the likely sightlines: seated toward the display, seated across the table, standing at the presentation wall, and looking toward a window. Recessed downlights, linear lights, LED panel lights, and troffers can each contribute an ambient or task layer, but the selected distribution and layout matter more than the category label. If pendants are used over a table, verify their view angles, brightness, suspension detail, and interaction with cameras and ceiling microphones rather than assuming a decorative element also supplies the whole room’s task light.
For rooms that host remote participants, test the installed camera image in the intended seating and presenter positions. Review backlighting from windows, bright ceiling reflections in screens, and face visibility at the camera angle. A field mock-up should use the actual display, camera exposure setting, finishes, and shades whenever possible. Record the result as a design decision—not as an unsupported promise that a fixture family is universally “video-conference ready.”
Put presentation and collaboration layers on intentional scenes
Avoid a single all-or-nothing switch. Separate the table layer, presenter or wall layer, and any decorative layer where the design supports it. The normal meeting scene should make papers, faces, and the room perimeter usable; a presentation scene may lower the layer that competes with a display while retaining the light needed for people to enter, take notes, or see the presenter. The exact levels, dimming range, and emergency condition belong in the project photometric and controls documents.
Specify the actual selected luminaire configuration: output, distribution, CCT, color-quality requirement, driver, dimming protocol, mounting, trim or finish, and access method. A generic schedule entry such as “linear fixture, dimmable” does not show whether the selected driver and controls system can deliver the intended scene at the installed low end. For every scene, include the control zone, normal level or state, fade behavior if relevant, local override, and the expected return after a meeting ends.
Keep AV integration narrow and testable. The AV system may request a presentation scene, but the lighting controls should retain a documented manual path if a touch panel or network service is unavailable. Make the handoff explicit: identify the initiating device, command, controlled zones, override priority, return behavior, and fault behavior. The U.S. Department of Energy’s Integrated Lighting Campaign notes that conference-room integrations commonly connect audio-visual functions and lighting; that coordination still needs a project-specific sequence and acceptance test.
Design daylight and occupancy controls for real meeting behavior
Windows can improve the room during a daytime meeting and make a display unreadable moments later. The Department of Energy says good daylighting balances useful daylight with direct sun, which can cause glare and excessive heat gain. Place luminaires near glazing in a separately documented zone when the design and applicable energy code require it, coordinate the lighting response with shades, and commission the room with final glazing and furniture. Do not use a photocell in one location as a proxy for every seat or the display wall.
Conference rooms are often intermittently occupied, but they also contain seated people with small movements. The DOE Federal Energy Management Program’s occupancy-sensor guide identifies conference rooms as a useful application for occupancy-driven control, while noting that passive-infrared sensors are less effective at detecting small motions and need appropriate coverage. Put sensor coverage and furniture placement on the drawing; test it with people seated in the final room rather than only walking through an empty shell.
The same DOE guide explains that manual-on/automatic-off vacancy control can avoid unnecessary turn-ons where occupants have enough ambient light. Whether that strategy is appropriate depends on the adopted code, owner operations, and the room’s accessibility and use patterns. Define the selected behavior, time delay, manual override, and after-hours state in the controls narrative. Do not assume a sensor’s factory setting is the commissioned setting.
Commission with the table, screens, shades, and people in place
Commissioning is where the scene description becomes an operating room. DOE’s office and public-building controls guide stresses that sensor placement and orientation should account for furniture, and that calibration is essential for daylight and occupancy controls to perform as intended. Schedule the review after the display, cameras, shades, furniture, and ceiling devices are installed. Test ordinary meeting, presentation, video-call, cleaning, after-hours, and power-loss conditions with the people who will use the room.
During that session, verify sensor detection at every occupied seat, screen reflections from normal sightlines, display readability, camera-facing image quality, wall-station labeling, AV commands, manual overrides, and the documented return state. Record final sensor locations, setpoints, time delays, fade times, scene values, software or controller version where useful, and the person responsible for future changes. This record is often more valuable to facilities staff than a single preconstruction rendering because it captures what was actually installed and accepted.
Commercial conference-room lighting submittal checklist
- A coordination drawing that shows luminaires, table and seating layout, displays, cameras, writable surfaces, windows and shades, sensors, control stations, AV devices, ceiling equipment, and emergency equipment.
- Photometric calculations and view studies for the table, presenter location, display wall, circulation, and relevant camera-facing views using final finishes, furniture, and mounting conditions.
- Cut sheets for the exact selected fixture configurations, including output, distribution, CCT, color quality, driver, dimming protocol, mounting, finish, environmental limits, and service access.
- A controls narrative and scene schedule for arrival, meeting, presentation, video call, cleaning, after-hours, override, and emergency operation, including sensor and daylight-zone behavior.
- An AV integration matrix that identifies the initiating control, lighting response, priority, manual fallback, return behavior, and acceptance test for each requested command.
- A commissioning and handover record with final scenes, sensor coverage tests, daylight and shade review, camera and display review, emergency coordination, owner training, and a named process for later changes.