Commercial building entry lighting starts before the door. A visitor, employee, delivery driver, or person using a mobility aid has to move from a street, parking area, transit stop, or drop-off point through an exterior approach, an accessible route, a landing, a doorway, and often a vestibule or reception area. Those spaces change in daylight, rain, darkness, and emergency operation. Treat the entry as one connected arrival sequence, not as a wall pack over a door or a decorative fixture selected after the site plan is complete.
Start with the adopted building, energy, electrical, fire/life-safety, accessibility, and local site-lighting requirements. This guide is a specification and coordination workflow, not a substitute for that review or for the authority having jurisdiction (AHJ).
Map every approach before selecting a fixture family
Put the actual arrival paths on one plan: public sidewalk, passenger drop-off, accessible parking route, curb ramp, steps, ramp, crosswalk, canopy, façade, door, intercom, directory, security point, bicycle parking, and exit discharge. Include what people must see along each path: uneven paving, a change in level, a sign, a card reader, a door handle, a person at reception, or the next decision point after the door.
The accessible route belongs on this same drawing. The U.S. Access Board explains that an accessible route should coincide with, or be in the same area as, the general circulation path; that avoids routes that are obscure or unnecessarily separate. Review its accessible-route guidance alongside the project’s applicable accessibility standards. At public entrances, the Access Board also identifies accessible routes from site arrival points and requires directional signage at inaccessible public entrances to the nearest accessible entrance. Its entrance guide is a useful coordination reference for the approach, door, signage, communication device, and security-barrier layout.
Divide the calculation and fixture schedule into real zones rather than assigning one average value to the whole frontage. Typical zones include the site approach, crossing, accessible route, steps or ramp, landing, door plane, canopy, signage, security or intercom point, loading or service entry, and the transition to the lobby. Record the selected luminaire configuration, mounting height, aiming, distribution, shielding, finish reflectance, obstructions, landscape maturity assumption, maintenance factor, and calculation planes. For a door and an intercom, vertical visibility can matter as much as a pavement average.
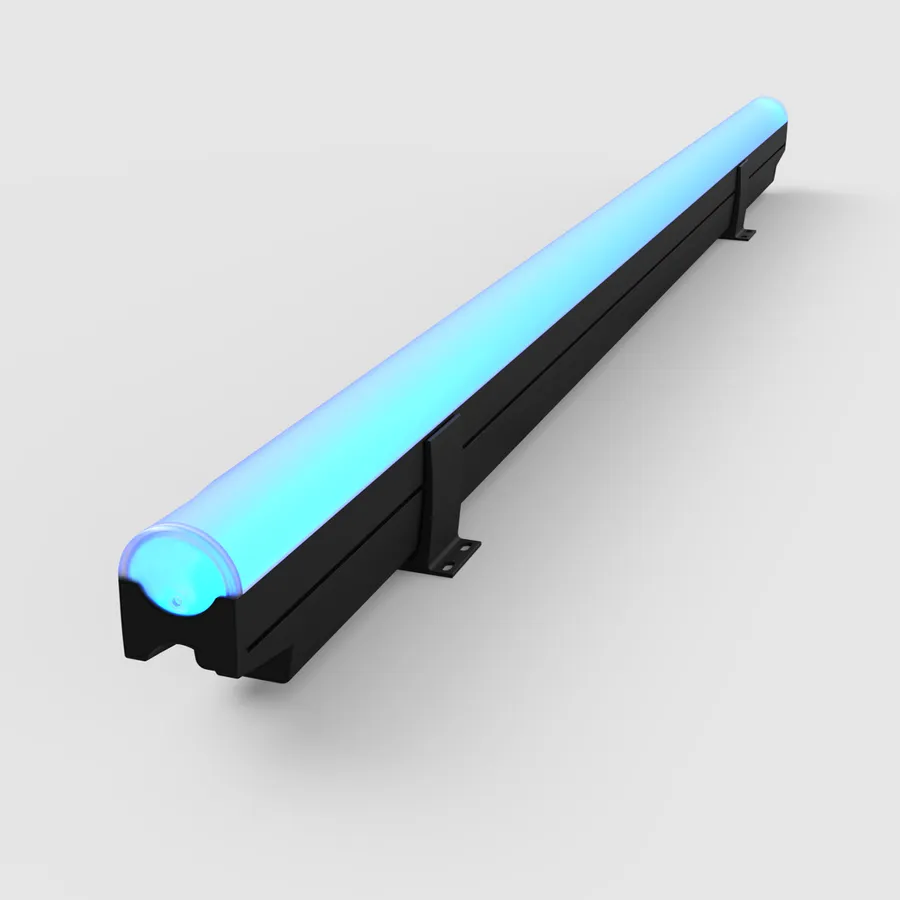
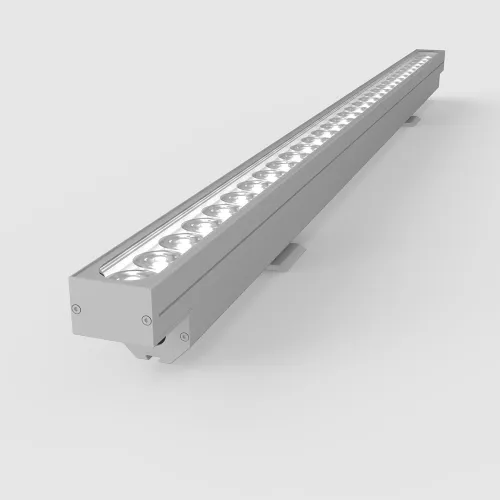
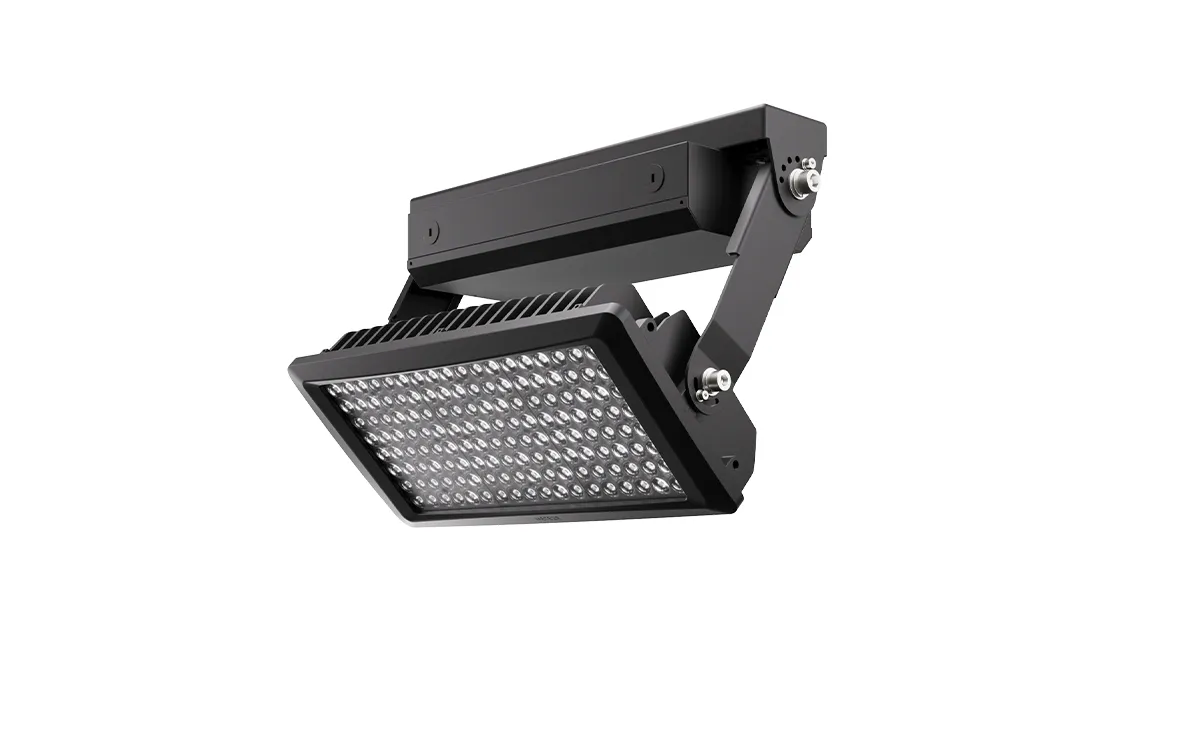
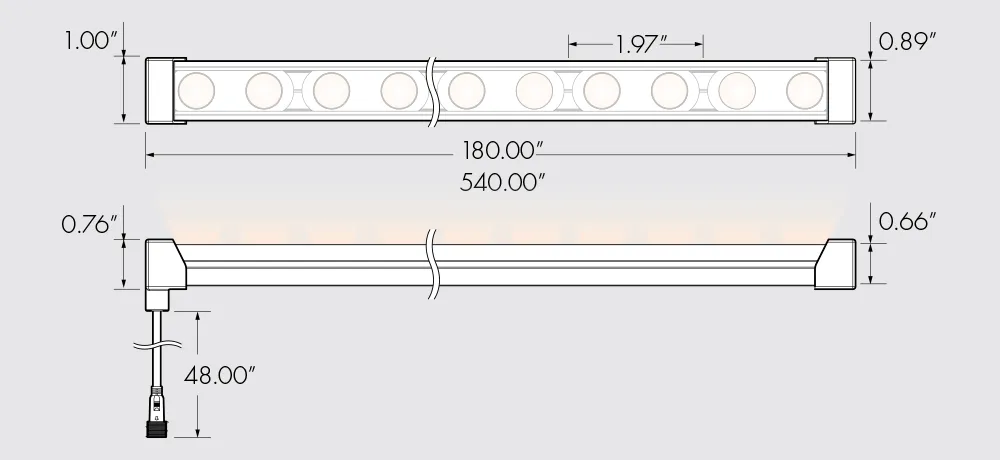
Area lights, wall packs, bollards, and outdoor flood lights can each be candidates when their published mounting, optic, environmental rating, and control compatibility suit the location. A category label is not an optic selection or a photometric calculation.
Coordinate light with thresholds, hardware, signs, and people
At an entry, review more than the ground plane. Walk toward the door from the parking and pedestrian approaches at night and ask whether a person can identify the entrance, read signs, see a step edge or level change, locate the card reader or intercom, and recognize someone standing at the door. Then look outward from the door: a bright façade feature, exposed lamp, or reflected glazing can make the approach harder to read even when a calculation reports adequate average illuminance.
Keep source brightness and aiming under review from the likely driver, pedestrian, and security-camera viewpoints. The Department of Energy describes light trespass as light that strays from its intended purpose and can become an annoyance, nuisance, or detriment to visual performance. Its outdoor-area-lighting fact sheet is a helpful prompt to check the target area, property edge, surrounding windows, façade reflections, and high-angle brightness. It does not replace a local lighting ordinance, campus standard, or project photometric criterion.
Coordinate fixtures with the physical entry details before issuing the schedule. A luminaire, bollard, protective guard, sign, camera, sensor, or conduit run can create a collision, a glare source, or an obstruction if it is added after the architectural route is settled. The Access Board notes that security bollards and screening devices at accessible entrances cannot obstruct accessible routes or accessible means of egress. Use that requirement in the coordination review rather than treating a bollard spacing sketch as a lighting-only decision.
For doors, leave the required maneuvering clearance and operable controls to the accessibility and architectural documents. If an automatic-door push plate, intercom, reader, or accessible communication system is provided, locate its light and any support equipment so that a user can see and operate it without standing in a door swing or in a dark recess. Do not assume an illuminated sign, glowing reader, or decorative pendant makes the entrance accessible.
Write controls as arrival and security states
Exterior entries often need different behavior at dusk, business hours, after hours, cleaning or delivery activity, and an emergency. Put those states into a sequence of operations before choosing a photocell, occupancy sensor, timer, or networked control. Identify the controlled luminaires and the intended output or switching behavior for each zone; name any daylight response, schedule, manual override, security interface, test method, and behavior after power restoration.
Avoid a single control zone that darkens the active door when an adjacent approach is unoccupied, or a sensor placement that reacts to passing traffic but misses someone waiting at an intercom. Walk the planned detection coverage against the approach directions, door swing, canopy structure, vegetation, parked vehicles, and any security-camera view. The selected device’s published coverage diagram and installation instructions should be part of the submittal review.
For energy procurement context, the Department of Energy’s Federal Energy Management Program includes wall-mounted luminaires, pole- and arm-mounted area luminaires, bollards, parking-garage luminaires, and floodlights in its exterior-lighting acquisition guidance. Review the current FEMP exterior-lighting guidance with the project’s adopted energy code and owner criteria. Efficiency eligibility or a control feature alone does not establish that a luminaire produces a safe, comfortable, or code-compliant entry scene.
Keep egress and normal exterior lighting distinct
Normal entry lighting, architectural façade lighting, and emergency or exit lighting may share a visual field, but they are not interchangeable systems. Identify the portions of the route that are part of an exit access or exterior discharge, then coordinate them with the project’s emergency-power design, exit signs, circuiting, transfer equipment, test procedure, and AHJ review. Emergency and exit lighting should be specified as the applicable life-safety assembly—not assumed to be supplied by a dimmed normal fixture.
For U.S. workplaces, OSHA requires each exit route to be adequately lighted so a person with normal vision can see along it; it also requires exit lighting and other safeguards to remain in proper working order. When exit direction is not immediately apparent, OSHA requires directional signs, and the line of sight to an exit sign must remain visible. Read OSHA 29 CFR 1910.37 with the adopted building and fire code rather than applying it as a complete design criterion for every occupancy.
Test the intended emergency condition with the final site layout in place. A normal nighttime rendering does not show whether an exit sign is masked by a banner, a tree has grown into an approach, a door hardware light produces uncomfortable glare, or a backup fixture leaves a confusing transition at the property edge. Maintain the final test records with the life-safety documentation.
Commission at the completed entry, not at an empty shell
Before turnover, verify the installed catalog numbers, optics, mounting, aiming, controls, emergency components, and finishes against the approved schedule and calculation. Walk each public and accessible approach in daylight, at dusk, after dark, and during representative after-hours operation. Include the actual doors, signs, furniture, planters, bollards, landscape planting, security devices, paving, and canopy surfaces; those details can change the visual result substantially from the early model.
During the field review, confirm the selected control states, identify any unwanted trigger or dark waiting area, inspect visible glare from approach directions, and test the agreed emergency state with the electrical and life-safety teams. Record final settings, aiming, maintenance access, device locations, test dates, deficiencies, corrections, and responsible parties. If the entrance plan changes later, update the calculation, controls narrative, and field test rather than relying on the original submittal.
Commercial entry-lighting submittal checklist
- A site and entry plan that shows pedestrian and vehicle approaches, accessible routes, crossings, ramps or steps, landings, doors, signs, security devices, and exit-discharge paths.
- Zone-by-zone photometric calculations that state the selected luminaire configuration, mounting, distribution, aiming, calculation planes, obstructions, surface assumptions, and maintenance factor.
- A glare, light-trespass, and vertical-visibility review from the principal driver, pedestrian, door, and nearby-window viewpoints.
- An accessibility coordination record confirming that luminaires, bollards, signs, protective guards, controls, and security barriers do not obstruct the required route or door operation.
- A controls sequence covering dusk, occupied, after-hours, security, override, emergency, testing, and return-to-normal states for every entry zone.
- Emergency and exit-lighting documentation identifying the selected life-safety equipment, power or backup arrangement, circuiting, sign visibility, test provisions, maintenance responsibility, and AHJ review.
- Commissioning records from the completed site at day, night, and emergency conditions, including final settings, aiming, test results, deficiencies, and as-built drawings.